

 Log in

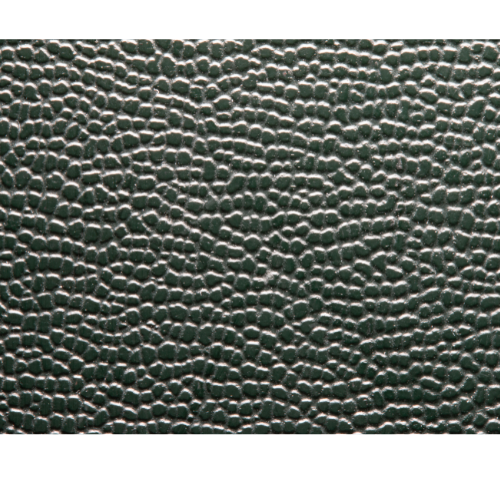
Leather Graining Techniques
Achieving a seamless and inconspicuous leather repair heavily relies on replicating the grain pattern or texture of the leather. While some small repairs may not require extensive grain reproduction, creating the right pattern is crucial for larger areas. Let's explore some fresh techniques to accomplish this with finesse.
-
Crafty Reproduction: For minor nicks, scratches, and holes, you can get creative by using a damp sponge, paper towel, or q-tip to lightly dab the repaired area, simulating the grain effect. Remember to add the grain pattern during the final skim coat of the filler, just before applying the color layer to ensure a smooth transition.
-
Spray-On Precision: Spray-on grain products offer versatility but can be tricky to control. Factors like temperature, humidity, the amount sprayed, and distance from the repair affect the results. These products create a clear wrinkle or textured coating over the repair. For optimal results, apply the spray-on grain after the repair process but before adding color.
-
The Art of Mold Making: For the most accurate and impressive grain reproduction, a grain copier or mold is your best ally. Using a two-part silicone product, mix it and pour it over an adjacent area to create a flexible replica of the leather grain. Depending on the brand used, this process typically takes about 10 minutes. Once the final skim coat of filler is applied to the repaired area, gently press the grain impression over it. Utilize a heating tool or heat gun to cure the repair. After cooling, peel off the mold, leaving behind an exact copy of the leather grain.
By honing these leather grain techniques, you'll be equipped to handle repairs of all sizes with finesse and precision. Whether you're dabbing, spraying, or molding, let your artistry elevate your leather repairs to a whole new level. Happy crafting!